Pages

Thursday, February 3, 2011

Snow Ice Cream

You scream, I scream, We all scream for Ice Cream!!! 

Where we live in Oklahoma it hardly ever snows. So..... when we got an unexpected "blizzard" with inches upon inches of clean beautiful snow we had to try snow ice cream! Of course we couldn't just try traditional vanilla, we had to try them all!!!  Here are the ones that got an A+ from our 4 expert ice cream judges! Since they all have probably sampled every ice cream ever made and would prefer it for breakfast, lunch and dinner - I decided the 4 of them were probably the best judges for the job. Enjoy! 

Traditional Snow Ice Cream 
1 gallon snow
1 cup white sugar
1 T vanilla extract
1 Cup milk
*Put snow in large bowl. Stir in sugar, vanilla & milk. Mix to combine. Serve immediately.

Snow Ice Cream from Paula Dean
8 cups snow
1 can (14 oz.) sweetened condensed milk
1 t. vanilla
*Place snow in bowl. Pour milk over & add vanilla. Mix to combine. Serve immediately.


Chocolate Snow Ice Cream
8 cups of snow
1 cup white sugar
1 cup chocolate milk
*Mix all ingredients and eat immediately.

Chocolate Snow Ice Cream II
8 cups of snow
1 can (14.oz) sweetened condensed milk
1/3 cup Hershey's chocolate syrup
*Put snow in large bowl. Add condensed milk and syrup. Mix together. Serve immediately.


Other snow ice cream variations

*Can substitute Rum for vanilla for a fun adult version of the ice cream
*Could add pureed fruit such as strawberries, peaches or blueberries to the ice cream
* Can make a snow ice cream float by dropping a scoop of your traditional snow ice cream into a glass of you favorite soda/pop flavor
*Can substitute a flavored extract such as almond, mint, strawberry, etc. for the vanilla extract to make different flavors of the ice cream
*Can substitute orange, lemon or lime extract for the vanilla extract to make a "sherbert" type of ice cream. 


The ice creams have all been made. The tasting has all been done. And the awards go to....
1 - Paula Deans Snow Ice Cream
2 - Chocolate Ice Cream II
3 - Traditional Snow Ice Cream with peppermint extract instead of vanilla


Wishing you peace, love and a little pixie dust,
-Kendall-

Wednesday, February 2, 2011

Valentine Candy Sundae


Why not take a walk on the wild side this Valentine's and step away from the traditional Valentine chocolates, flowers or cards and make someone special a candy sundae? They are super cute, yummy and fun to make! 

Here are the materials you will need to make them : 
- clear ice cream sundae glasses
- candy to fill the glass (conversation hearts, pink & red M&Ms, Valentine candy corn, etc.)
- a styrofoam ball sized to fit in top of glass
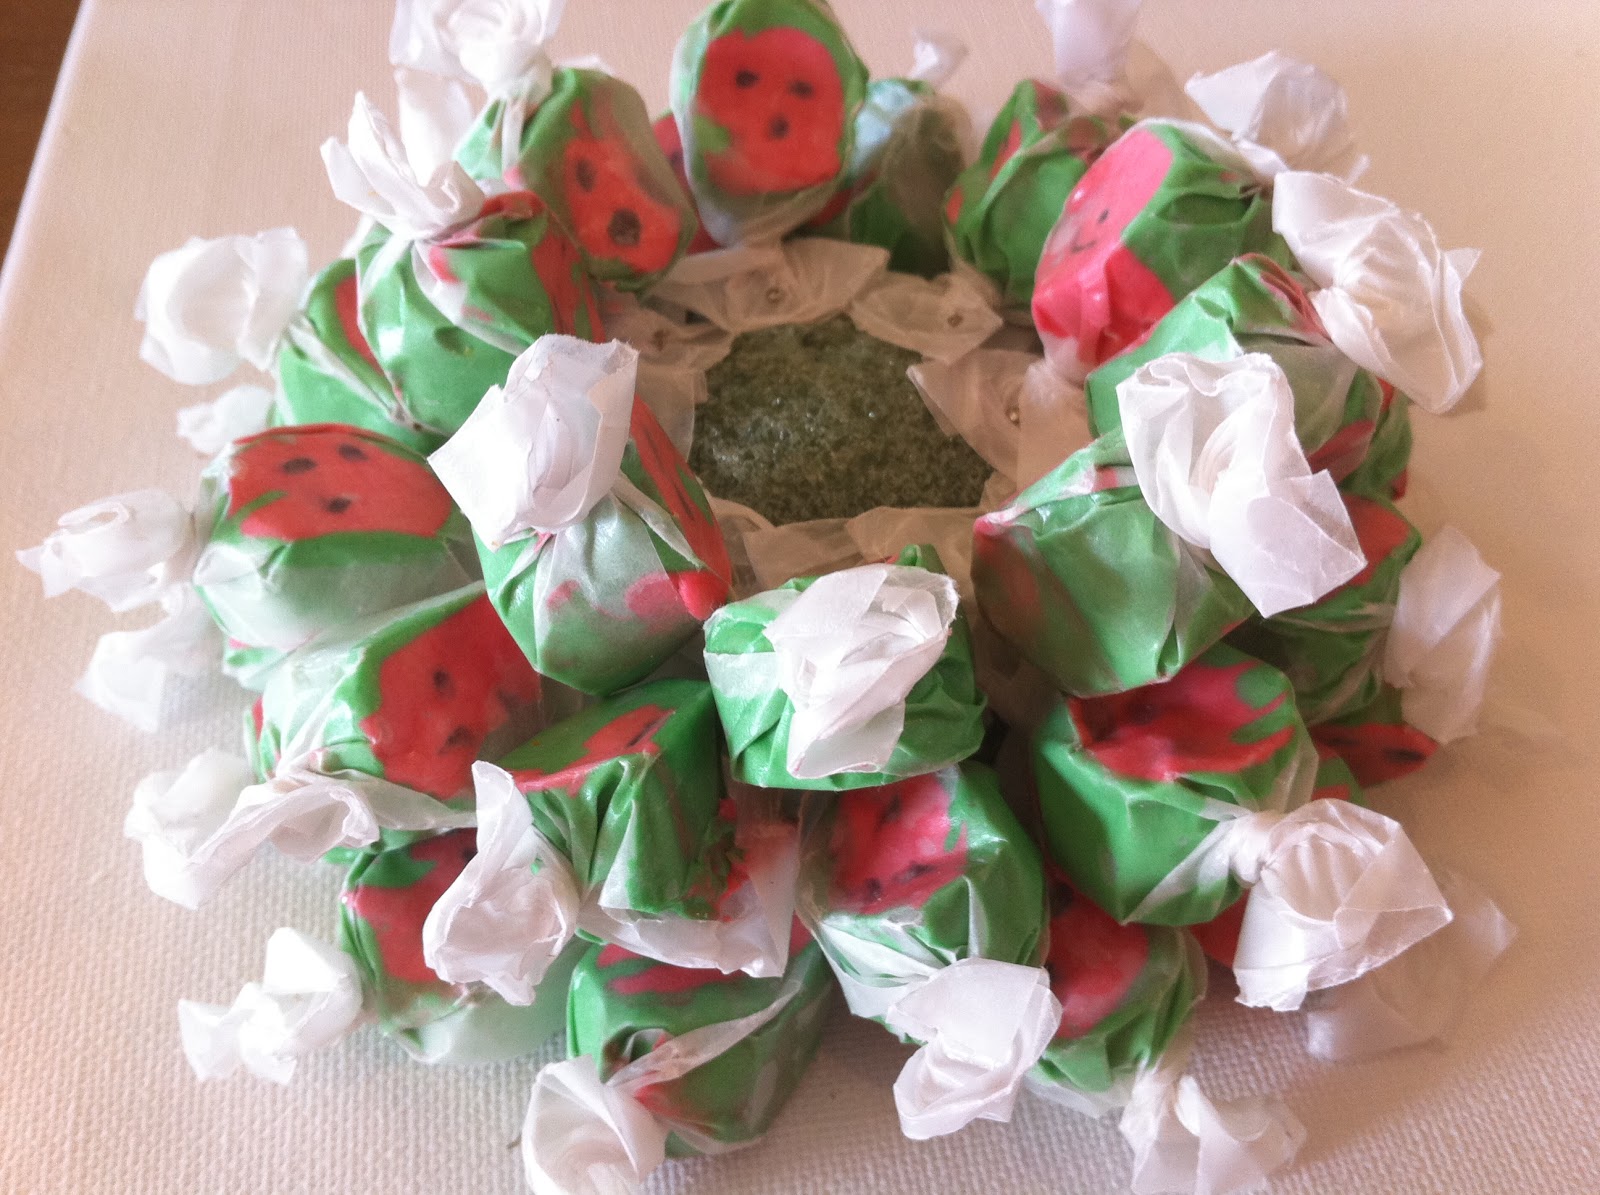
- Asst. colored salt water taffy
- pixie sticks for the straws
- chocolate foiled hearts
- straight pins and wooden toothpicks
-Valentine ribbon and papers for tags


Step 1 : Fill the sundae glasses with the candy of your choice.


Step 2 : Cut your styrofoam ball in half. With the flat side down, begin covering the styrofoam ball with taffy. To do this, use the straight pins and pin the taffy to the ball 1 row at a time. Circle the ball with the taffy 3 times. You should still have an opening at the top of the ball. 


Step 3 : Stick your pixie stick into the top as the "straw". Then add your chocolate hearts (the cherries on top of your sundae) by inserting a wooden toothpick into the heart and then with the other end of the toothpick stick them into the styrofoam ball. Fill in the remaining showing styrofoam ball around the pixie stick and hearts with taffy. 


Step 4 : Pick up your taffy covered ball and place it on top of the sundae glass filled with candy, pressing down slightly to secure. The final step is to make your to & from tag and tie it to the sundae glass with a Valentine ribbon. 


Wishing you peace, love and a little pixie dust,
-Kendall-

Tuesday, February 1, 2011

Valentine's Gumball Necklace

 As a new take on the candy necklace, why not try a gumball necklace? You can give these to the sweet girls in your life or hand them out at a Valentine's party. They are easy to make and also fun for kids to make - as long as they have adult supervision with the hole making. I found this idea on another blog site and made a few adaptions in the supplies and steps to make it easier for my daughter and I to do together. 


Supplies : 
1- Large Gumballs in asst. Valentine colors
2. 5/8" wide satin ribbon in Valentine colors
3. Metal skewers or a meat thermometer
4. Plastic yarn needles or large eye sewing needle


Steps : 
1- Using the metal skewer / meat thermometer, pierce one side of the gumball. Hold the gumball steady as you pierce the hole to keep the skewer from slipping off the slick surface of the gumball.
2. Flip the gumball over and pierce another hole directly opposite the first hole. If you try to poke the hole straight through the gumball all at once, it will crack. 
3. Using the needle thread the ribbon through the gumballs, tying a knot between each gumball as you string them. 
4. Once you have all of the gumballs that you want on your necklace, tie the ribbon ends together at your desired length. Lastly, just for a little flair, tie a bow on top of the first gumball in a cute Valentine's ribbon. Voila!

 Wishing you peace, love and a little pixie dust, 
-Kendall-

Sunday, January 30, 2011

Valentine Garland

 Making a Valentine's Heart Garland

Supplies :  
Cardboard heart cutouts
Asst. Red, Pink, etc. scrapbook paper
Valentine stickers, misc. hearts, pom poms, ribbon, flowers,etc.
(anything you want to use that basically is pink or red)
Solid red ribbon
Hot glue gun
Hole punch
Tape

To Make The Hearts :
The first thing you do to each heart is to cover them with a piece of scrapbook paper. To do this trace each heart onto the backside of the scrapbook paper, cut it out and then glue to your cardboard heart. Next punch two holes in your heart, one on either side near the top, for the ribbon to go through later. 


Once all of your hearts are covered with the paper it is time for the real fun to begin! Plug in the hot glue and get creating! Gather up all of your misc. valentine / red and pink goodies that you have collected and start glueing. The first thing that I like to do with each heart is glue on the border. For the borders I used flowers, ribbons, plastic hearts, stickers, yarn, chenille stems, etc,  anything that I felt would make an impact. After the borders are all glued on it is time to decorate the insides of the hearts. There is no right or wrong way to do this - just have fun! Each heart will be different and unique! After you have completed the insides of your hearts, the final step is to thread your ribbon through the holes on either side of the hearts to create the garland. I spaced my hearts about 6-8 inches apart. After you have strung them all together - hang and enjoy!


Wishing you peace, love and a little pixie dust,
-Kendall-

Wednesday, January 26, 2011

Decorating with Blue and White

Some people choose to go with a blue and white theme through out their home, while others find blue and white pieces the perfect accents for their decor. The timeless effect created by blue and white china pieces helps to instill a feeling of warmth and traditionalism in your home. 
On top of this television armoire is a collection of blue and white china pieces. Here I mixed urns, vases, plates and jars. Some have been handed down from grandparents, others given to me by friends and family and still others I have simply collected myself. Each piece has it's own story. 
This picture is from a hallway table. Here there is only one blue and white urn that has been mixed in with other table top items on display. Sometimes a single piece has just as much impact and makes just as large of a statement as a grouping of similar pieces does. This urn was a special piece given to me by my grandmother. I chose to display it alone, rather than in a grouping of similar blue pieces, to heighten it's interest and importance. 
This picture shows a grouping on my mantle. Here I have chosen to mix different styles of blue and white pieces but all with an oriental design. 


When decorating your home with blue and white pieces there really is no rule to follow. Choose the pieces that have meaning to you or just catch your interest in some way. Mix like patterns and different patterns, like styles and different styles - the sky is the limit! The most important rule of thumb to remember is this - this is your home. There is no right or wrong way to display them. Do what feels best for you and you will achieve your desired effect. 
Wishing you peace, love, and happy decorating,
-Kendall - 

Tuesday, January 18, 2011

Cupcake of the Month - S'mores

Ingredients :
1-Pkg.(18.25oz.) yellow cake mix
3 eggs
1/3 cup oil
1/2 t. vanilla extract
1c. chopped chocolate covered graham crackers
1c. butter, room temp.
1/2c. unsweetened cocoa powder 
2 3/4 c. Marshmallow fluff
1 1/4c. powdered sugar
Marshmallow fluff, plain graham crackers & Halved snack size Hershey bars, optional
Directions : 
Preheat oven to 350*. On med-low speed beat cake mix, 1 1/3 cups water, eggs, oil and vanilla until combined. On med-high speed beat until fluffy, about 2 min. Stir in chopped graham crackers. Divide batter evenly among muffin cups filled with cupcake liners. Bake 15-18 min., or until toothpick inserted into center comes out clean. Cool 10 min. Transfer to racks and cool completely.
On high speed beat butter until fluffy. Beat in cocoa. Add 2 cups marshmallow fluff and beat on low speed until combined. Gradually beat in powdered sugar until smooth. Set aside.
Transfer remaining fluff to pastry bag fitted with a small round tip (or ziplock bag and cut a corner off). Cut 2" slit into top of each cupcake, pipe fluff into centers. Spread tops with reserved frosting. For garnish, spread fluff over plain graham crackers, top with chocolate bars and set on top of cupcake. Enjoy!

Tips of the day : These cupcakes are very yummy, but they are also quite messy to make! Be sure and reserve yourself about 1 1/2 hour of time when planning on making them. I definitely recommend trying these! 
Wishing you peace, love and chocolate dreams,
-Kendall- 

Monday, January 17, 2011

Snow Dough

Homemade Snow Dough

Kids shouldn't have to wait for an actual snow day to have some wintry fun and build their own snowmen! Just whip up some of this sparkling white "snow dough" and they'll be squishing and rolling their way into fun in no time! 

Ingredients:
1 cup flour
1 cup water
1/2 cup salt
1 T vegetable oil
1/2 t. cream of tarter
2 T white tempera paint
1 T white or iridescent glitter

To make a batch combine all of the ingredients in a medium size saucepan. Cook over medium heat, stirring constantly, until the mixture holds together (about 5 minutes). Remove pan from heat. Take the play dough out of the pan and set on waxed paper to cool about 15 minutes. Store cooled play dough in a ziplock bag in the refrigerator for up to 2 weeks. 


Wishing you peace, love and snow much fun,
-Kendall-
Related Posts Plugin for WordPress, Blogger...