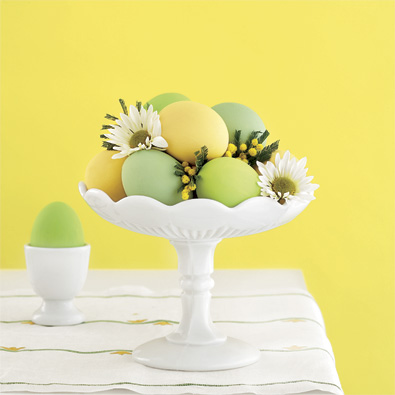
With just a week left until Easter, it's time to start thinking about dying and decorating those Easter eggs! Decorating Easter eggs is not only a fun family activity to get ready for the holiday, but a quick and easy way to add a festive touch to your holiday decor - no matter what your budget is!
How are you going to decorate your eggs this year???
Masking Tape Patterned Eggs
Source : Country Living
Speckled Easter Eggs
Source : Southern Living
Painted Easter Eggs
Source : Quick and Simple
Feathered Birdie Eggs
Source : Disney Family Fun
Glittered Eggs
Source : Martha Stewart
Marbleized Easter Eggs
Source : Martha Stewart
Marbled Easter Eggs
Source : Quick and Simple
Rubber Band Egg Designs
Source : Better Homes and Gardens
Gold Leaf Metallic Eggs
Source : Martha Stewart
Silhouette Eggs
Source : Martha Stewart
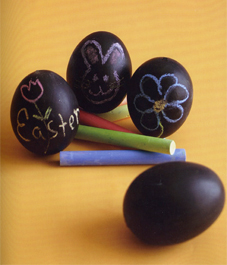
Chalkboard Eggs
Source : Style At Home
Gilded Eggs
Source : Martha Stewart
Baby Blue Bird Eggs
Source : Martha Stewart
Melted Crayon Eggs
Source : Disney Family Fun
Crepe Paper Bunny Eggs
Source : Martha Stewart
Paper Napkin Decoupage Eggs
Source : Martha Stewart
Lace Eggs
Source : Martha Stewart
Electrical Tape Square Patterned Eggs
Source : Martha Stewart
Punched Paper Decorated Eggs
Source : Woman's Day
Wax and Dye Pysanky Eggs
Source : Better Homes and Gardens
Naturally Dyed Easter Eggs
Source : Better Homes and Gardens
Ribbon and Ric Rack Eggs
Source : Better Homes and Gardens
Sticker and Dye Egg Designs
Source : Better Homes and Gardens
Sticker Decorated Eggs
Source : Better Homes and Gardens
Candy Coated Eggs
Source : Parents
Foil Wrapped Eggs
Source : Parents
Japanese Washi Tape Wrapped Eggs
Source : Better Homes and Gardens
Scrapbook Embellishment Decorated Eggs
Source : Better Homes and Gardens
Punched Adhesive Circles Sprinkled With Glitter
Source : Better Homes and Gardens
Source : Disney Family Fun
Painted String Egg Decorating Technique
Source : Disney Family Fun
Source : Disney Family Fun
Silk Tye Dyed Eggs
Source : Martha Stewart
Blog idea source : Under the Table and Dreaming by Stephanie Lynn
Enjoy!
Wishing you peace, love and a little pixie dust,
-Kendall-