Pages

Wednesday, April 13, 2011

Chocolate Nests Recipe


Not only are these cute little nests the perfect little sweet temptation, they are also a wonderful way to bring Easter and the feeling of Spring to your table. They are easy to make and oh so cute! 

Chocolate Nests

To make 10 chocolate nests you will need : 
* 1 1/2 cups milk chocolate chips
* 1/2 stick (1/4 cup) butter
* 2T corn syrup
* 4 c. corn flakes
* 30 chocolate mini eggs
*paper baking cups
* a muffin tray with 12 holes


Put the 10 baking cups in the muffin tray. Put the chocolate chips in a saucepan. Cut up the butter and add it to the pan. Then dip a tablespoon into hot water and use it to add the corn syrup. The syrup will slide off the hot spoon.


Gently heat the pan on low heat until the chocolate and butter have melted. Stir the mixture the whole time. Turn off the heat and add the corn flakes. Gently stir them into the chocolate until they are coated all over, trying not to completely crush the corn flakes!


Using a teaspoon, fill the baking cups with the chocolate mixture. Make a hollow in the middle of each nest with the spoon. Push the flakes up the sides of the baking cups with your spoon to form your nest. Put 3 mini eggs into each nest. Put the nests in the fridge and let them harden for about an hr.


Once they have hardened, you can remove them from the baking cups - carefully. They are kind of fragile! After you have placed them on your serving plate, etc., put back in the fridge until about 30 minutes before you want to serve them! They would look adorable in your table setting as place card markers! 


 Enjoy!

Wishing you peace, love and a little pixie dust,
-Kendall-

Monday, April 11, 2011

Cooking With Kids : Jellybean Bark


Not only is this candy super easy to make, it's colorful and festive too!!! The best part is it only has 3 ingredients, takes maybe 15-20 minutes and is super yummy. Biting into this jellybean bark infuses your taste buds with the smoothness of chocolate and the surprising, unexpected mix of tangy jellybeans!

Jellybean Bark

* 1 T. butter, melted
* 1-1/4 lb. candy coating 
(can be white chocolate, milk chocolate, vanilla, etc.)
* 2 cups miniature jelly beans (like Jelly Belly)


Line a 15" x 10" x 1" pan with foil. Brush with butter ; set aside. Place the candy coating in a microwave safe bowl. Microwave , uncovered for 3-4 minutes, stirring every 30 seconds till smooth. 


Pour the melted candy coating into the foil lined pan. Spread it around as evenly as possible. 


Sprinkle the jelly beans on top of the candy coating. 


Let stand until set before breaking into pieces.


This candy bark looks especially cute set out on a serving platter on top of some Easter grass. It is also adorable wrapped up in some cellophane bags, tied with some festive spring ribbon and topped off with an Easter decoration. Individual wrapped servings make perfect little remembrances at this time of year. 


Making this jellybean bark was super fun for all of us and the kids had a blast sprinkling (and taste testing) the jellybeans! This candy was such a fun Springtime recipe and will be perfect for teacher gifts this year! Have fun!

Wishing you peace, love and a little pixie dust,
-Kendall-

Friday, April 8, 2011

Easter Decorating Part 2


As Easter approaches, I couldn't help but set out a few more Easter decorations around the house to add to our already existing ones. Here are a few more pics of our house preparing for the arrival of the Easter Bunny. 


This is a table in our living room / hallway that we often use for holiday displays. For Easter we display our bunny collection here along with our favorite Easter tree. 


This Easter centerpiece is set out on the kids table where the kids hang out and watch t.v. and have their snacks. This centerpiece changes every year because I let the kids help put it together! They love it because it helps them to feel a part of it all!


This table is in our dining room. It is one of my favorites because it changes every year and I never quite know what the end result will be. This year I think it turned out pretty cute! 


Happy Easter!
Wishing you peace, love and a little pixie dust,
-Kendall-

Monday, April 4, 2011

Surprise Birthday For Mom


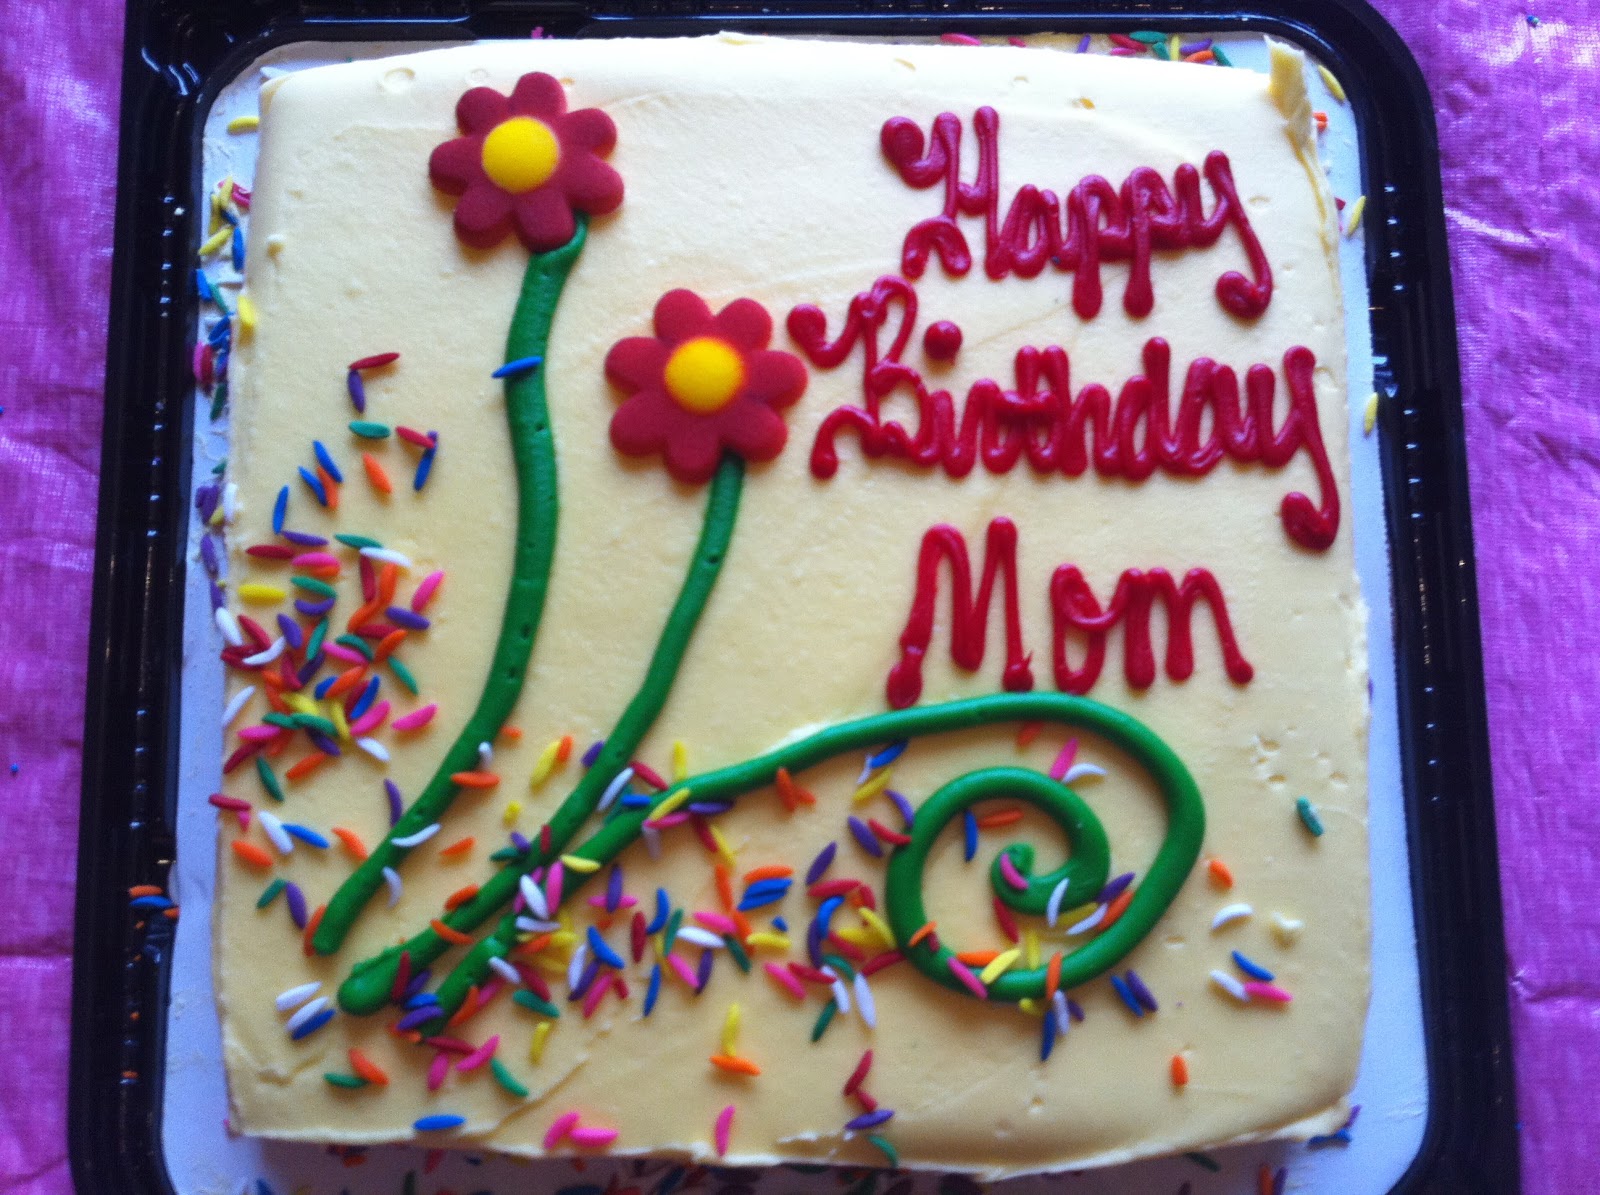
They say the apple doesn't fall far from the tree - and I hope they're right! A couple weekends ago I was gone for my birthday. I walked in the door on Sunday evening and my daughter, Piper, had set up a surprise birthday dinner for me. She had spent an hour setting the table up all by herself. She was so proud of herself and excited to show it to me! (And I was so proud of her!). She told me that someday she would be a decorator / party giver like me and hoped her daughter would too! 


At each place setting she had made place cards and 2 party picks to wave while they sang.


She had asked the babysitter to take her to get a cake and candles


and also to get flowers. Which she put in a vase and decorated with more party picks. 


She also knew I liked to sprinkle confetti on the tables but couldn't find any, so she improvised! She got cookie/cupcake sprinkles out of the cabinet and made her own "confetti"!


The final touch was a sign that she had painted for me and hung in the window behind the table. This surprise party - was for me - the best one in my 35 years so far. It wasn't put together by a "professional", but with all the love in my babies 7 year old heart. And to me, it was the most beautiful party I had ever seen. 


Thank you baby for the most wonderful birthday party ever!


Wishing you peace, love and a little pixie dust,
-Kendall-

Sunday, April 3, 2011

Easter Decorating All Through The House


Hippity, Hoppity, Hippity, Hoppity, 
Easter's on it's way!!

It's time to get out the bunnies, chicks, eggs and colored grass and get your house ready for the Easter bunnies arrival! Set out the Easter candy, dye the Easter eggs and prepare for Spring! Once April 1st rolls around, the flowers start blooming and the grass begins to turn green, get out those Easter decorations and bring home the feeling of Spring! 


In the kitchen I like to get out the glass jars and fill them with all the things that remind me of Easter and Spring. Bird eggs, grass and nests, carrots, Easter eggs and grass, chocolate eggs, bunnies, etc. These are some of the things I like to use, but you can use your imagination and fill them with a variety of things. Some other items you could use would be seasonal candy, flowers, an asst. of bunnies, etc. Let your imagination be your guide.


On the coffee table I like to set out a little Easter village and, of course, our Easter bunny ready to nibble on his carrot!!!


In the dining room I have used an asst. of sizes of pastry/dessert servers with glass dome lids. Inside each dome I have placed Easter grass and an Easter rabbit or chick. I grouped them together, covered the bases with Easter grass and carrot bunches and Voila! - easy, instant Easter centerpiece!


In the entry hall I placed an asst. of bunnies, a feather tree and a Happy Easter sign. No house can be ready for the Easter bunny and Spring with out a proper welcome! When your guests walk into your home you want them to be greeted with the sights of Spring. Your design could be as easy as a flower arrangement full of Spring blooms with a surprise bird nest tucked inside or even an Easter basket with brightly colored eggs tucked inside. Anything that brings to mind Spring, Easter, etc. will do the trick!


Our Easter mantle. The mantle is sort of our Spring surprise filled with a pop of color instead of traditional pastels. It's a little wild but we love it! 


HAPPY EASTER!
Wishing you peace, love and a little pixie dust,
-Kendall-
Related Posts Plugin for WordPress, Blogger...